5 easy steps for an at home facial
May 30, 2020
3 min read
I’ve been really inspired recently as Glamour Magazine did an online article about creating your own, more sustainable sheet masks (you can find it here) for the ultimate DIY home facial! I’ve been trying out lots of different recipes and thought I’d choose a couple of my favourites to share with you all…
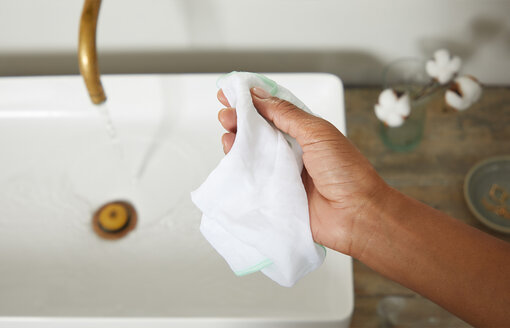
Step 1: Find your cloth
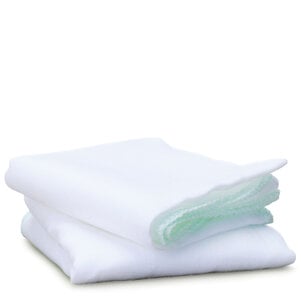
Track down one of our pure cotton cloths from your bathroom cupboard - we've always got loads of these hanging around and I get so many messages about what to do with them! The key is to find an older one that's really soft and isn't really giving you much 'polish' anymore.
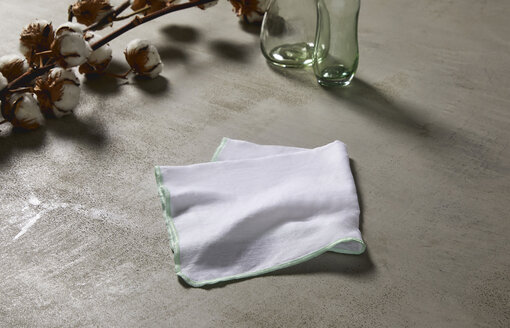
Step 2. Create your 'face'
Now this part is deceptively tricky - certainly not as easy as it may appear on Instagram! You need to create the eyes, nose and mouth holes for your mask - I recommend holding the cloth over your face, and with a pen or eyeliner (whatever you have to hand), mark where your facial features are. Then take some scissors and get cutting for your mask to take shape!

Step 3. Choose your mask recipe
There are probably as many different recipes for nutrient-rich mask infusions as there are cloths in all your homes, so I've opted to share just a couple of my favourites!
- First up, the rice or oat water mask. Take half a cup of any rice or oats and soak them in water for 12-24 hours at room temperature. When the solution is ready, strain it before soaking your DIY mask, making sure to refrigerate for at least 30 minutes in a clean bowl before use.
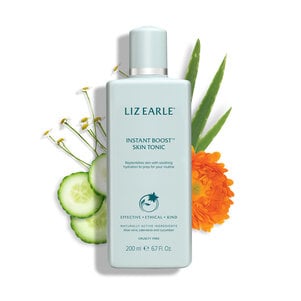
- Next, it's the Liz Earle infused mask! Mix a solution made up of 50% water and 50% Instant Boost™ Skin Tonic before soaking your mask in it and refrigerating for 30 minutes in a clean bowl.
Top tip: if you want to speed up the cooling process, pop an ice cube in the fridge with your mask infusion!
Step 4. Apply your mask
After taking it out of the fridge, wring your mask out. You don't want it to be dry, but it's important that you get any excess water out. Then all that's left to do is find somewhere you can be as comfortable as possible, lay it over your skin and relax - making sure to keep your eyes closed whilst the mask is on. Want to go even more natural? Pop some cucumbers over your eyes for soothing comfort!
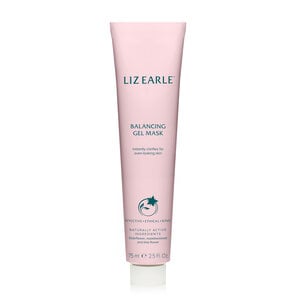
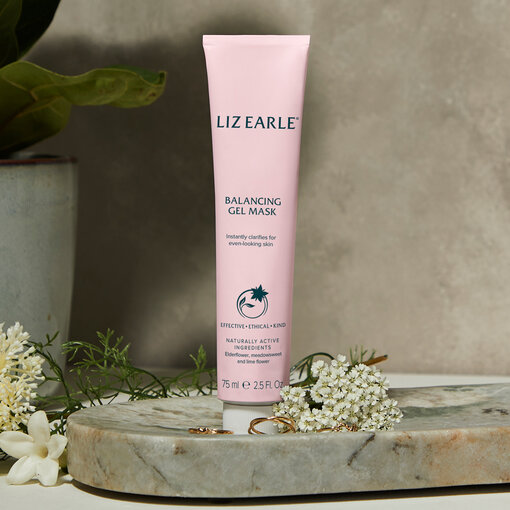
Top tip: If you're using the Liz Earle recipe, apply Balancing Gel Mask to the skin just before you put on your sheet mask. Make sure to time your pamper session to 5 minutes, as Balancing Gel Mask shouldn't be left on the skin for longer than this.

Step 5. Time to cleanse
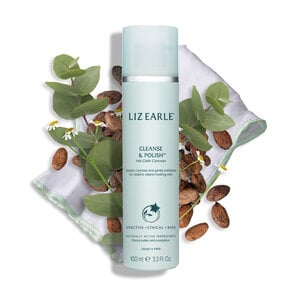
Feeling suitably relaxed? Don't let the pampering stop there - cleanse and tone your skin to remove any excess product. My #1 tip to add extra luxury to the process is to warm your Cleanse & Polish™ in the palms of your hands, before holding over your face and taking three deep breaths. The scent of the eucalyptus is perfect to help you feel calm and centred. Finally, apply your daily or night-time skin treat to complete your at-home ritual.
And there we have it - the perfect at home facial. Whenever you're ready to discover your next natural mask infusion, just pop your cloths in the wash and you're good to go. I hope you all enjoy making yours - now if you excuse me, I'm off to try another of my own!
SHOP THE PRODUCTS
